


Our Blog
How to Remove Buggy Board Connectors

Buggy boards are a great addition to your travel system and attach to your pram frame in a few simple steps, but how do you remove the buggy board connectors when you no longer need them or need to clean them?
In today's blog, we will take a look into how you can remove your buggy board connectors, reasons why you may want to remove them, and also how you can clean your buggy board!
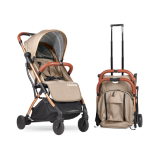
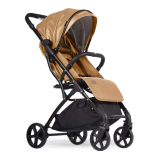
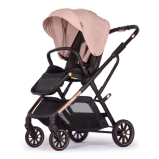
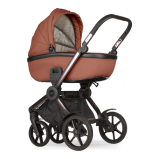
What is a Buggy Board?
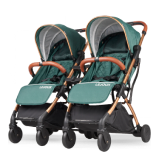
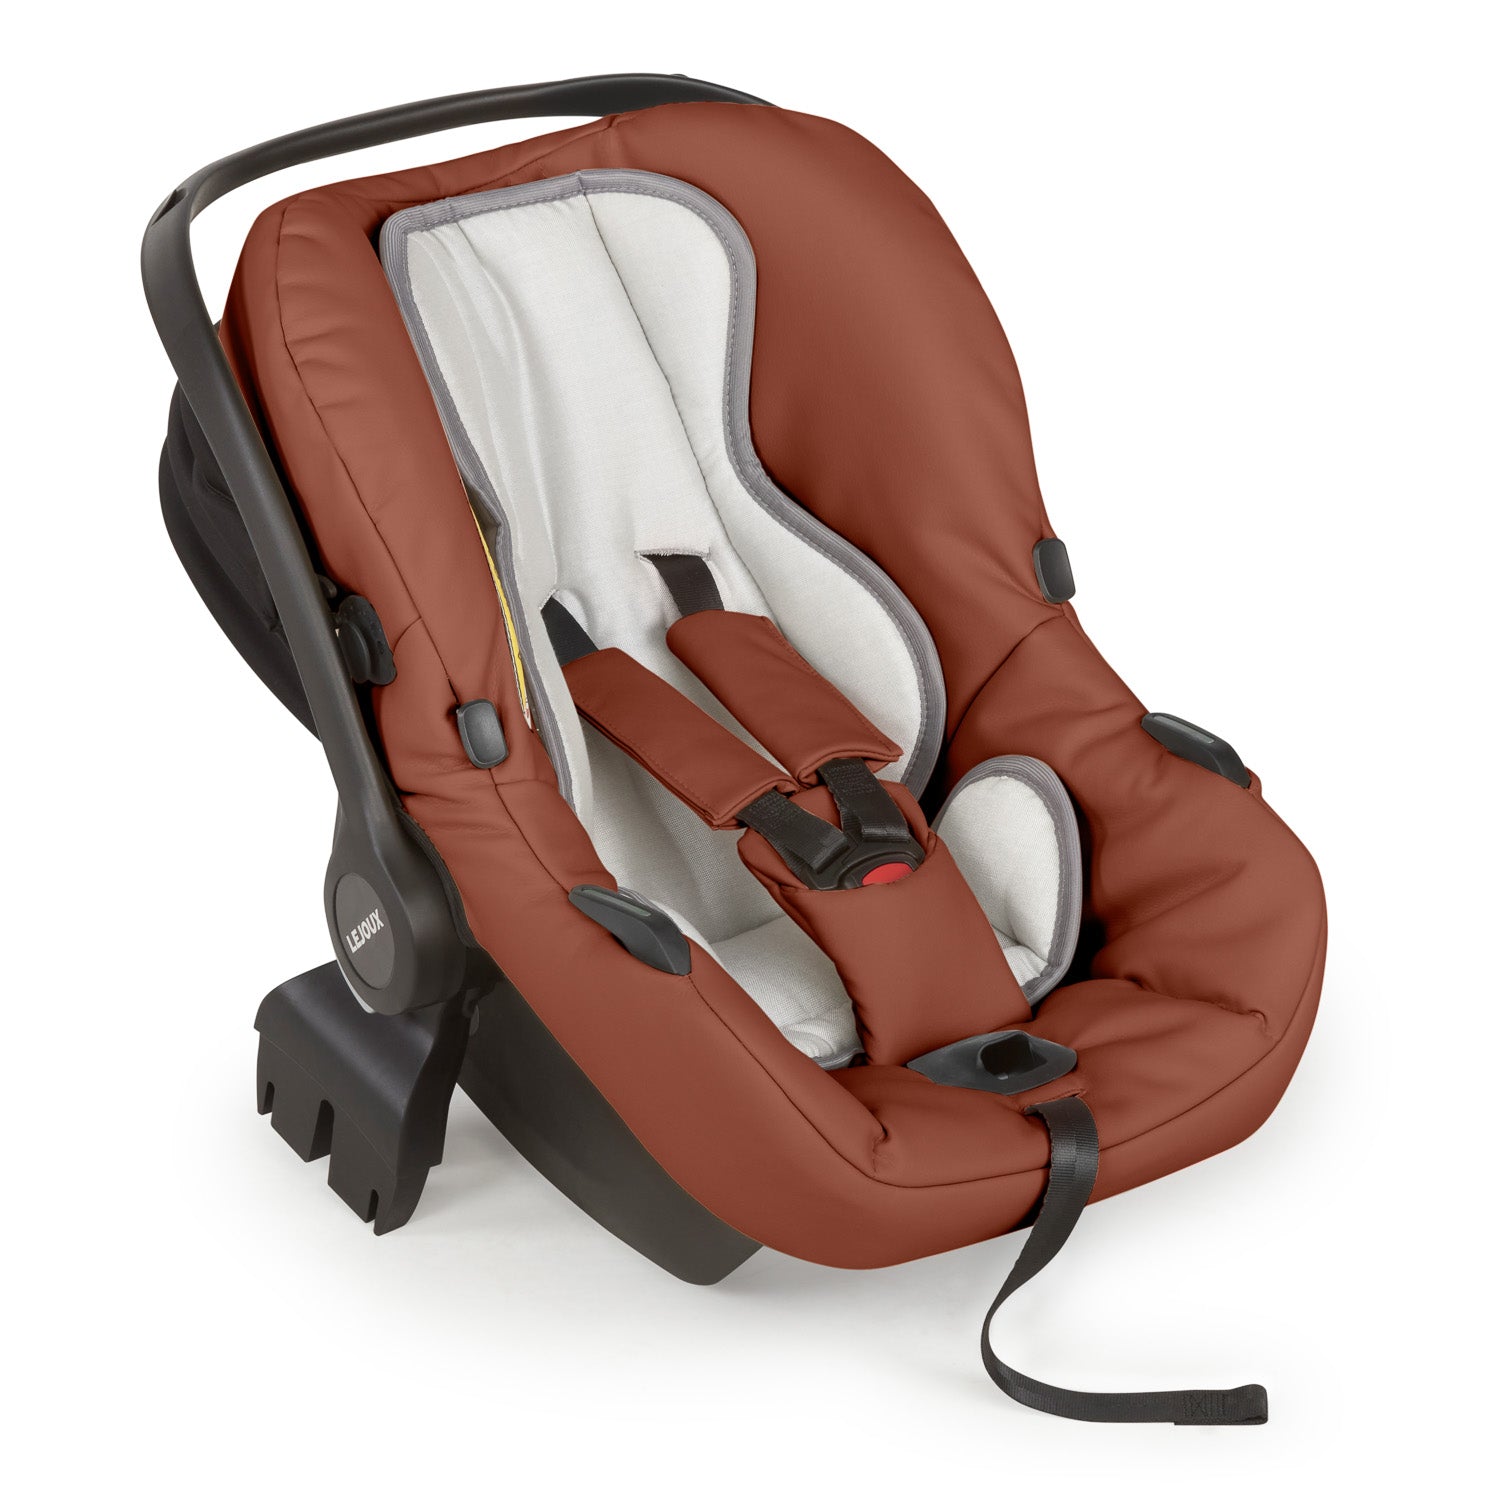
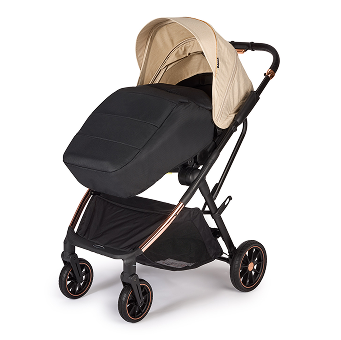
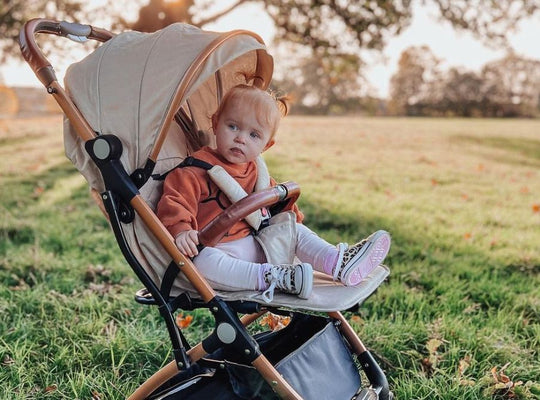
A buggy board attaches to the back of your pram and is useful when travelling with toddlers who are transitioning from the pram stage or on short journeys. If you have two children, you may benefit from a buggy board if you go out alone a lot and don't want to push a double buggy.
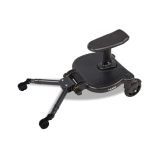
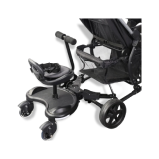
Buggy boards give toddlers the chance to explore the world around them but also a place to rest when their legs get tired. They come in a variety of models, from stand-up to seated - and even buggy boards that attach to the side of your stroller.
Buggy boards are convenient and easy to store, and they are also cost-effective too. If your children have a larger age gap and your toddler may not need a pram soon but is not ready to walk around for the full journey, a buggy board is a good alternative to a double stroller - especially if you won't need the double stroller for long due to your toddler not needing a pram for much longer.
Why Remove Buggy Board Connectors?
There are a few reasons why you may need to remove your buggy board connectors, such as:
Cleaning
As buggy boards are for outside use, there is a high chance that dirt and grime from shoes can build up on the buggy board around small crevices and screws.
To properly clean your buggy board, you will need to dismantle connectors to make sure you're getting rid of all the bacteria in the dirt that has accumulated - especially if you store your buggy board indoors.
Storage
If you need to store your buggy away for a while, or you are packing your car for a trip and need a bit more space, you may want to remove your connectors to maximise your space.
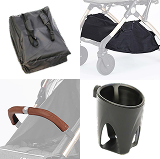
Replacement Connectors
Over time, if you use your buggy board a lot, you may need to replace the connectors if they have worn or are damaged to ensure safety for your toddler.
Step by Step on How to Remove Buggy Board Connectors
But how do you actually remove your buggy board connectors? It is fairly easy and doesn't take long - let's take a look:
What You Will Need
Some of the items you will need to prepare before you start are,
Screwdriver (usually a Phillips head) Pliers Clean cloth or towel
Step 1
Find a clean flat surface to work on and lay down a towel or cloth to make sure any small screws don't roll away and go missing. Buggy board connectors are usually located near the rear wheels and frame of your stroller. Gather together everything you need and begin.
Step 2
Use your screwdriver to carefully loosen the screws, making sure you are keeping all of the screws together, as you will need them later on if you want to reattach your buggy board.
Step 3
Now that you have removed the screws, you can carefully begin to wiggle the buggy board away from the stroller. If any parts are stuck, make sure to use your pliers to release them.
Lastly, take a look at all of the screws and parts to make sure that they aren't damaged and don't need replacing. Store everything away in a safe space and all small parts safely together.
How to Clean Your Buggy Board
Buggy boards need regular cleaning as they attract dirt super easily from your toddler hopping on and off. So, when it is time to clean your buggy board, how exactly do you do it?
When you clean your pushchair, you should clean your buggy board too.
Let's take a look at some of the simple steps to get your buggy board looking brand new and germ-free.
What You Will Need
Warm soapy water Sponge Scrubbing brush Small brush or toothbrush Towel
Step 1
Prepare all of your resources and prep the area you are going to clean your buggy board in. Make sure to lay a towel down so that you don't get dirt on your floor. If it's a nice day, you could clean your buggy board outdoors.
Remove your buggy board connectors, using the step-by-step above - and if your buggy board has a seat, remove that too. Then it’s time to begin cleaning!
Step 2
Take your sponge, soak it in the warm soapy water and begin to rub the sponge onto the buggy board in a circular motion to loosen the dirt or grime.
Step 3
Take a scrubbing brush to scrub away the stubborn dirt that won't wash off with the sponge alone. If there is any dirt and grime in any crevices, then take your small brush or toothbrush and scrub away.
Step 4
Once you have scrubbed away all of the dirt on your buggy board and in the crevices, rinse with warm water to remove any of the soap residue before you dry.
Pat dry any water left on your buggy board and make sure that all of the screws and bolts are completely dry before you leave the plastic part to air dry - this will prevent rust.
How to Attach Your Buggy Board Connectors
Now that you have cleaned your buggy board, or you are ready to use your buggy board again, it's time to reattach the connectors. But how? Let's go through the simple steps:
Step 1
Reposition your connectors to the frame - where they were previously attached - and begin to tighten the screws. Be careful not to overtighten the screws as this can cause damage to the screw holes.
Step 2
Now that your connectors are reattached, inspect to make sure nothing is loose and all of the screws have been used before you allow your toddler to use it again.
If the screws aren't tight enough, and the buggy board is loose, this can lead to the buggy board disconnecting when in use, causing danger to your toddler.
Buggy Boards at The Lejoux Stroller
Are you looking for a buggy board? Here at The Lejoux Stroller, we have a wide variety of pram accessories to upgrade your travel system experience.
Our buggy board comes with a removable seat and a belt so that you can strap your toddler in safely for longer journeys, or they can stand on shorter journeys.
Browse our website today for all of your pram and pram accessory needs!

Hinterlassen Sie einen Kommentar